This is the second post in a series that discusses the new metadata interfaces we have been developing for the UNT Libraries’ Digital Collections metadata editing environment. The previous post was related to the item views that we have created.
This post discusses our facet dashboard in a bit of depth. Let’s get started.
Facet Dashboard
A little bit of background is in order so that you can better understand the data that we are working with in our metadata system. The UNT Libraries uses a locally-extended Dublin Core metadata element set. In addition to locally-extending the elements to include things like collection, partner, degree, citation, note, and meta fields we also qualify many of the fields. A qualifier usually specifics what type of value is represented. So a subject could be a Keyword, or an LCSH value. A Creator could be an author, or a photographer. Many of the fields have the ability to have one qualifier for the value.
When we index records in our Solr instance we store strings of each of these elements, and each of the elements plus qualifiers, so we have fields we can facet on. This results in facet fields for creator as well as specifically creator_author, or creator_photographer. For fields that we expect the use of a qualifier we also capture when there isn’t a qualifier in a field like creator_none. This results in many hundreds of fields in our Solr index but we do this for good reason, to be able to get at the data in ways that are helpful for metadata maintainers.
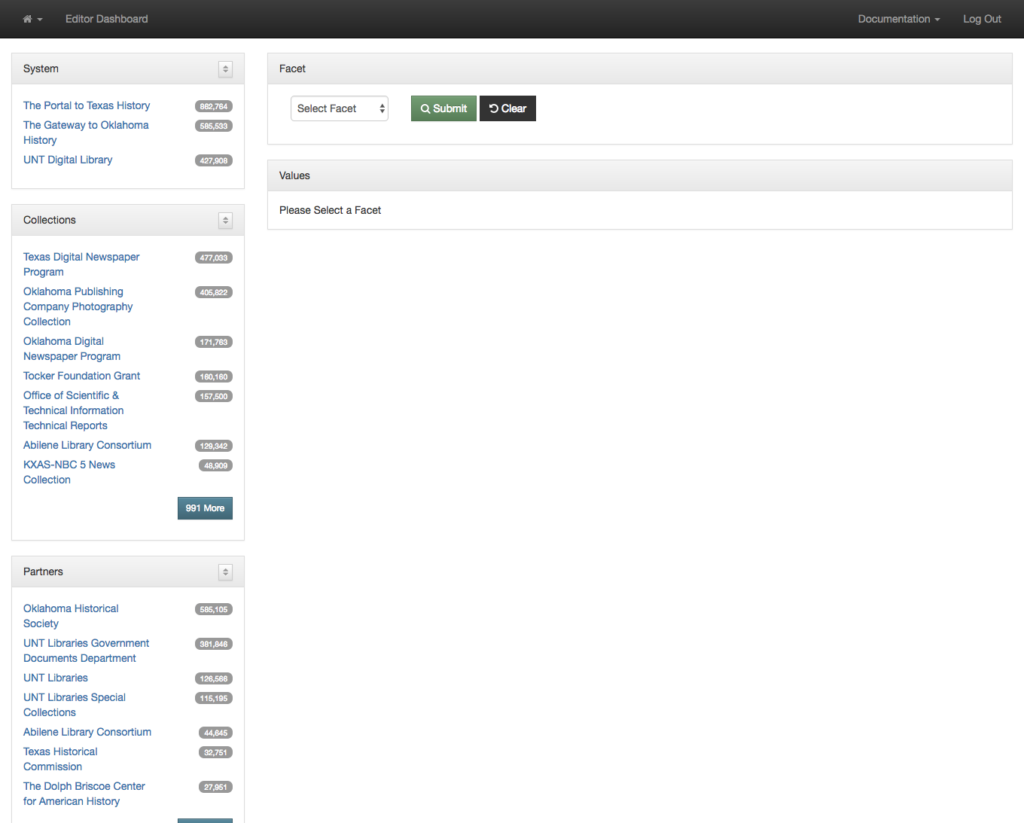
The first view we created around this data was our facet dashboard. The image below shows what you get when you go to this view.
On the left side of the screen you are presented with facets that you can make use of to limit and refine the information you are interested in viewing. I’m currently looking at all of the records from all partners and all collections. This is a bit over 1.8 million records.
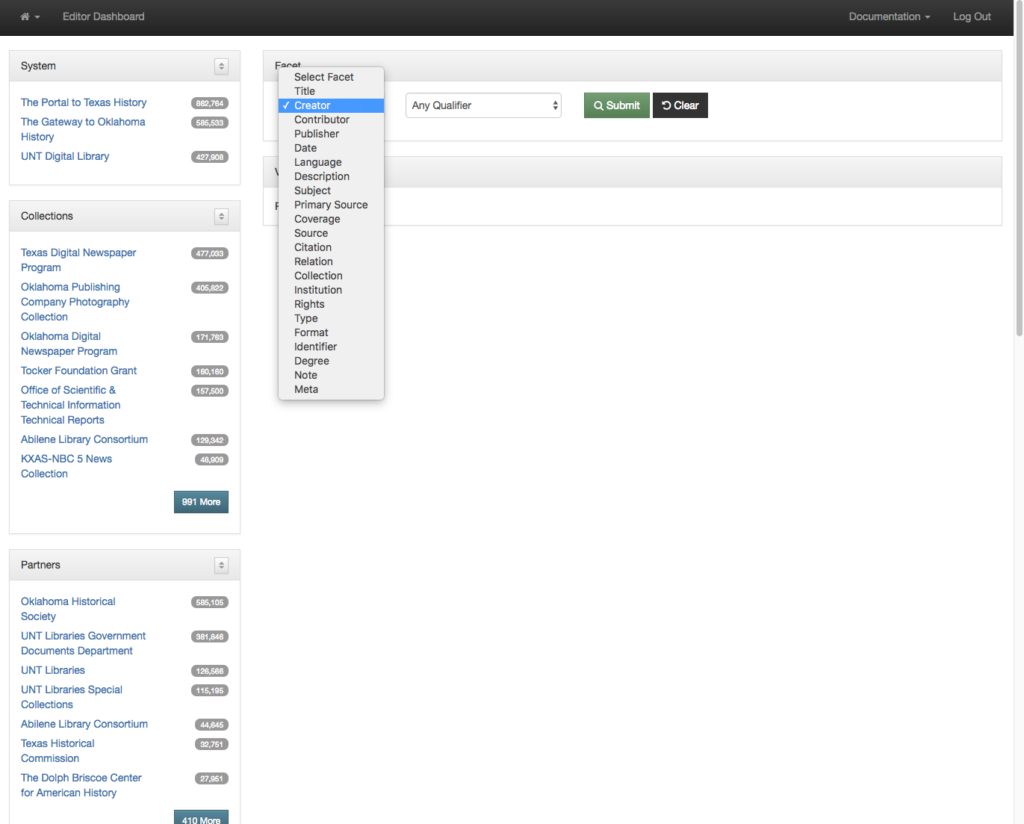
The next step is to decide which field you are interested in seeing the facet values for. In this case I am choosing the Creator field.
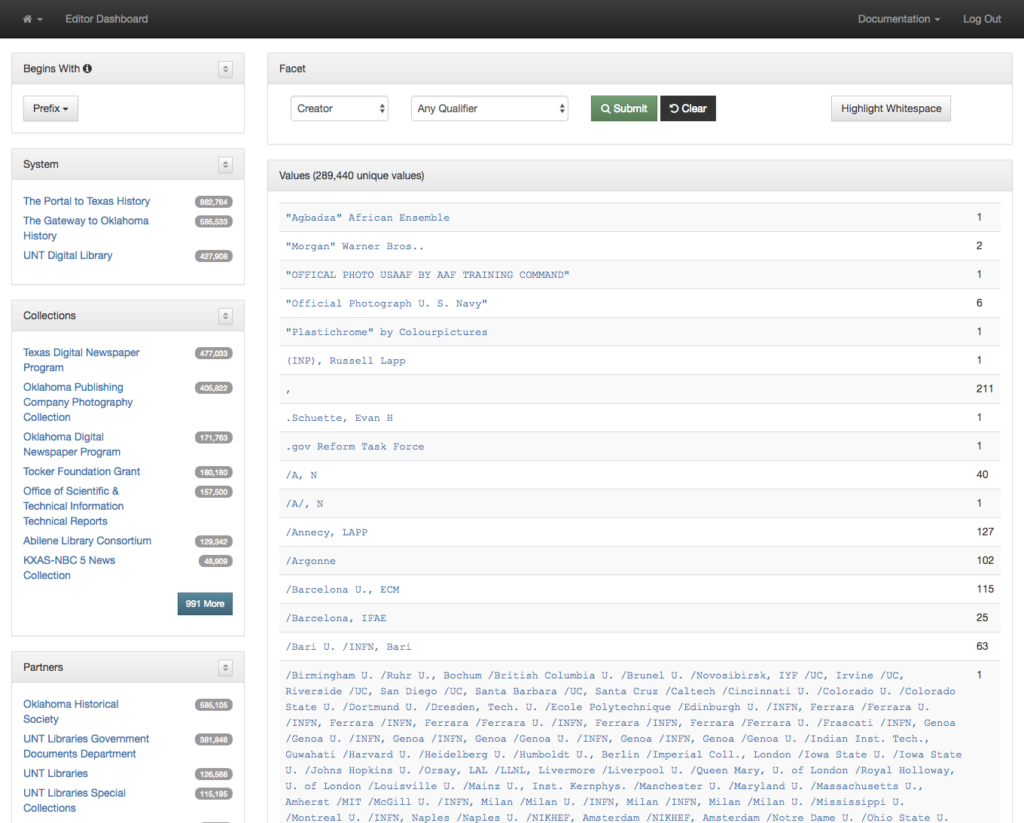
After you make a selection you are presented with a paginated view of all of the creator values in the dataset (289,440 unique values in this case). These are sorted alphabetically so the first values are the ones that generally start with punctuation.
In addition to the string value you are presented the number of records in the system that have that given value.
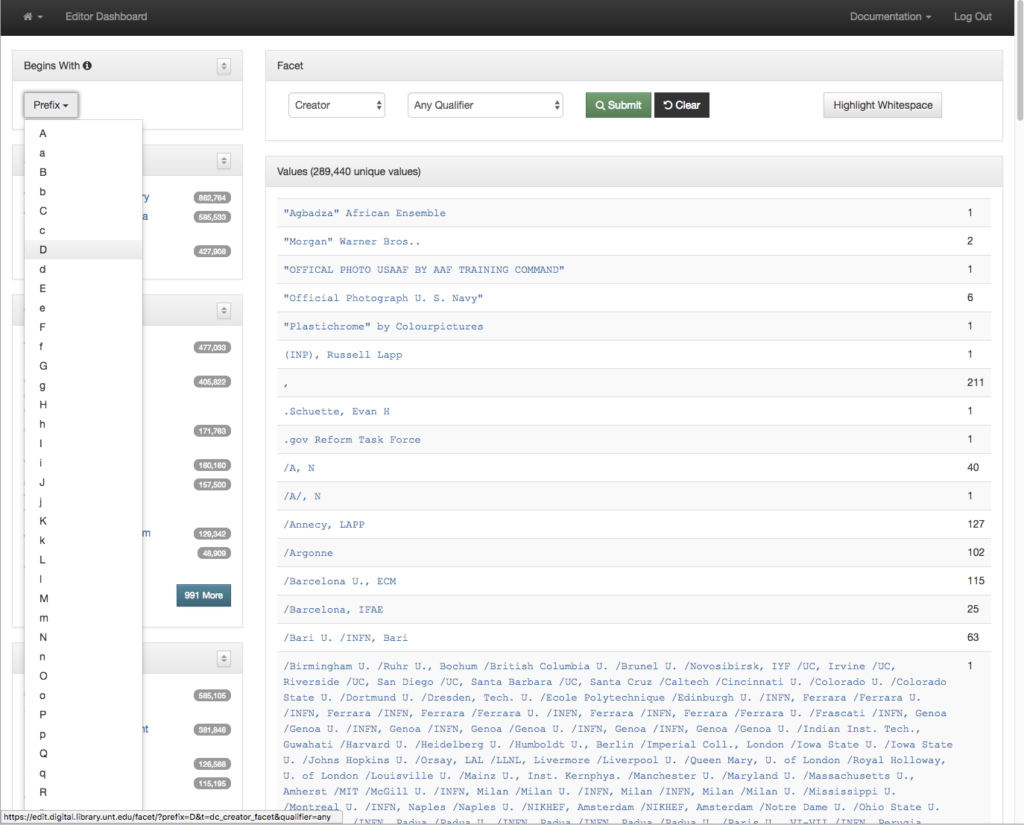
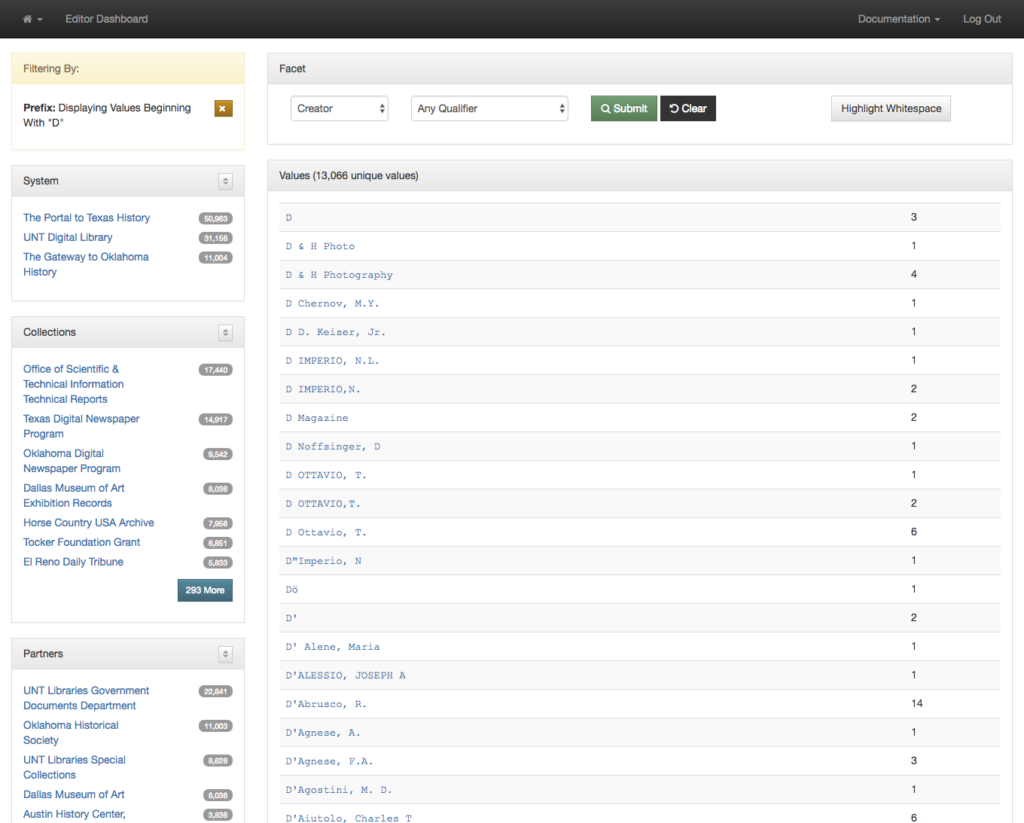
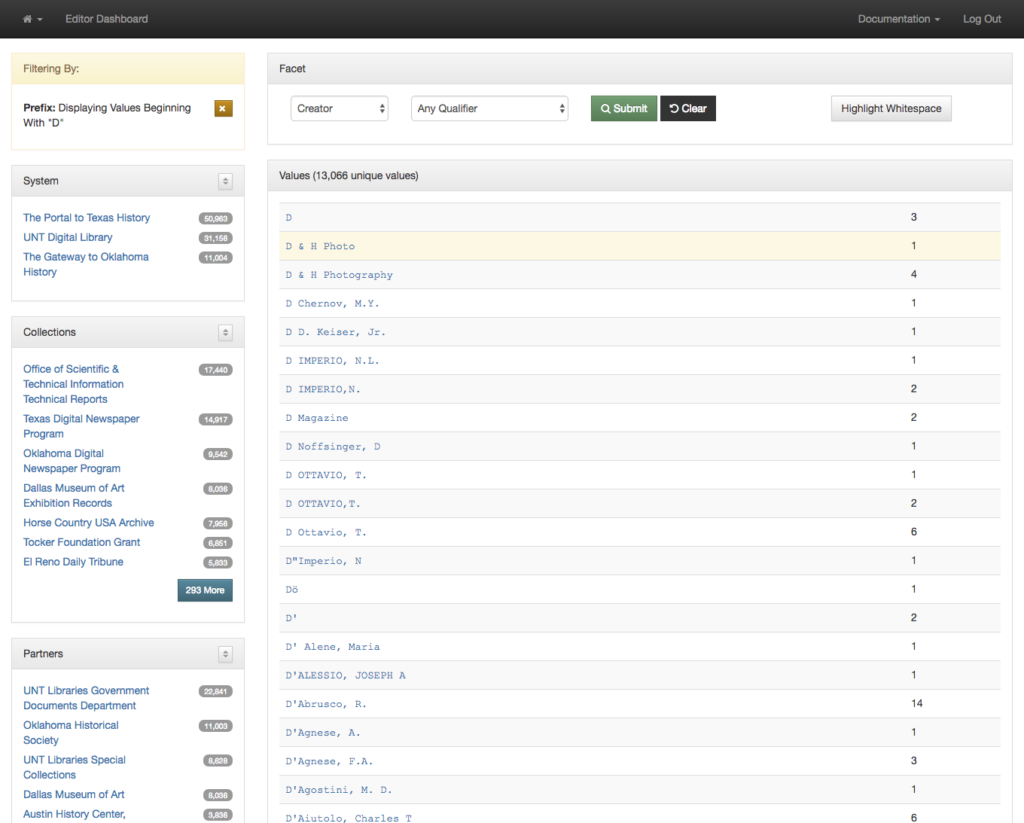
Because there can be many many pages of results sometimes it is helpful to jump directly to a subset of the records. This can be accomplished with a “Begins With” dropdown in the left menu. I’m choosing to look at only facets that start with the letter D.
After making a selection you are presented with the facets that start with the letter D instead of the whole set. This makes it a bit easier to target just the values you are looking for.
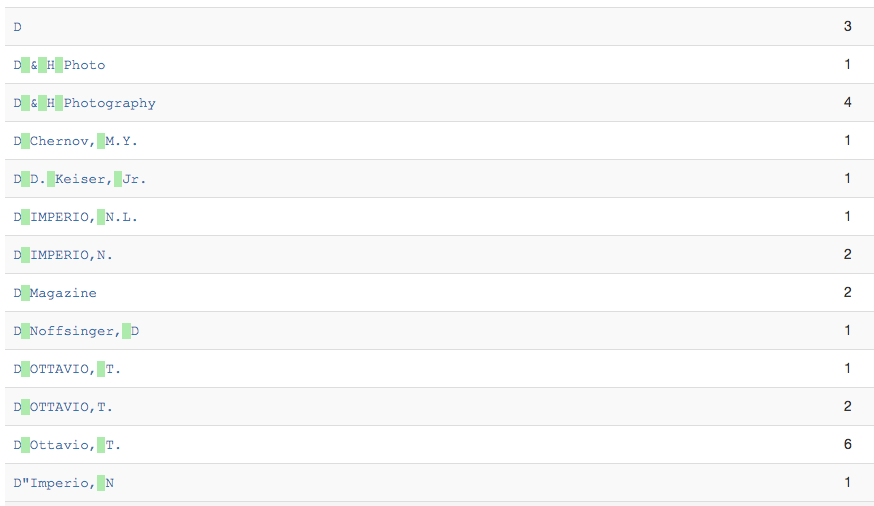
Sometimes when you are looking at the facet values you are trying to identify values that fall next to each other but that might differ only a little bit. One of the things that can make this a bit easier is having a button that can highlight just the whitespace in the strings themselves.
Once you click this button you see that the whitespace is now highlighted in green. This highlighting in combination with using a monospace font makes it easier to see when values only differ with the amount of whitespace.
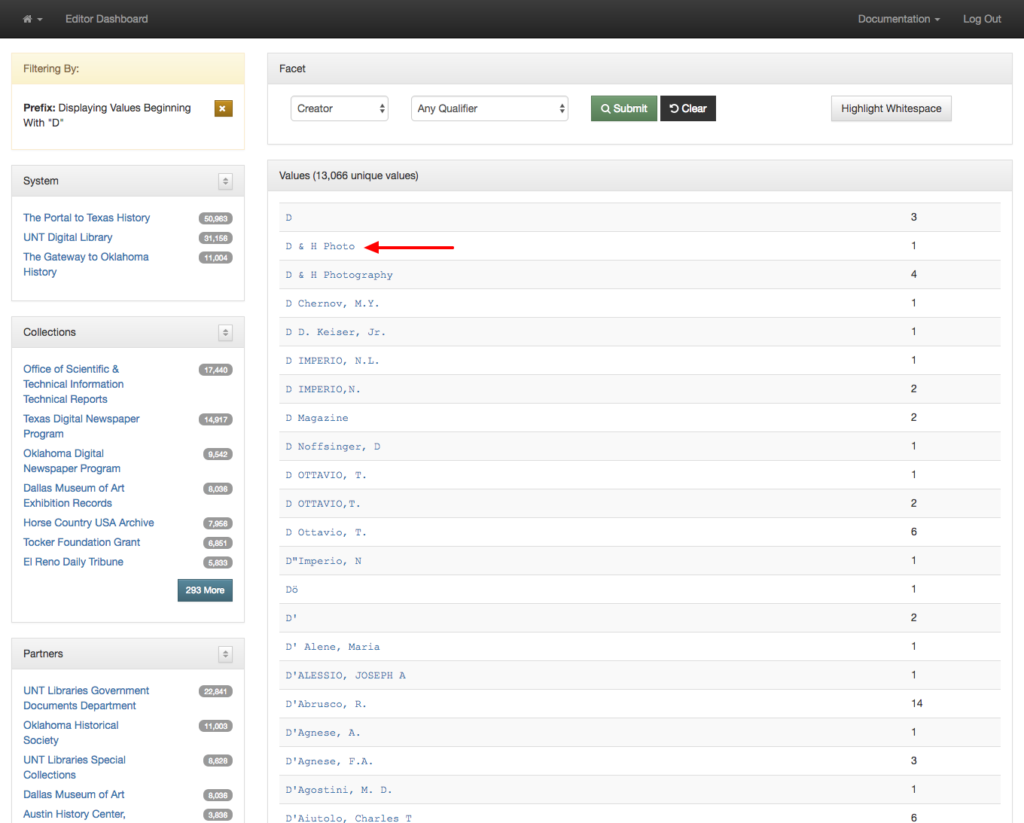
Once you have identified a value that you want to change the next thing to do is just click on the link for that facet value.
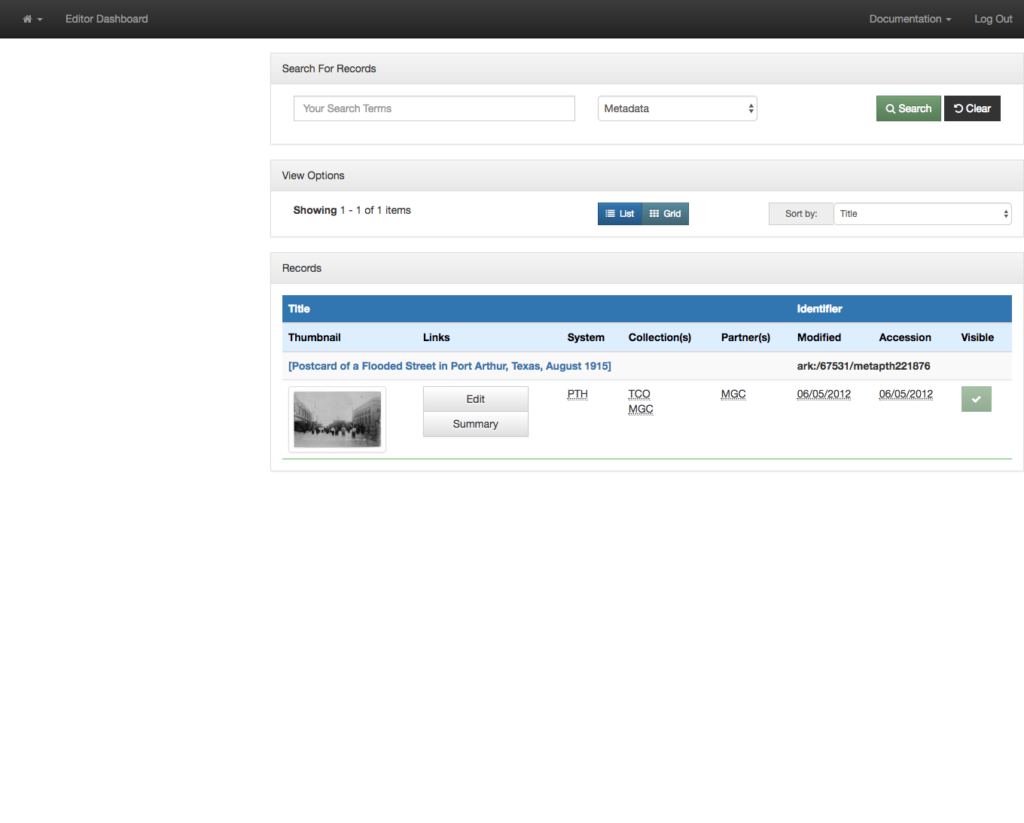
You are taken to a new tab in your browser that has just the records that have the selected value. In this case there was just one record with “D & H Photo” that we wanted to edit.
We have a convenient highlighting of visited rows on the facet dashboard so you know which values you have clicked on.
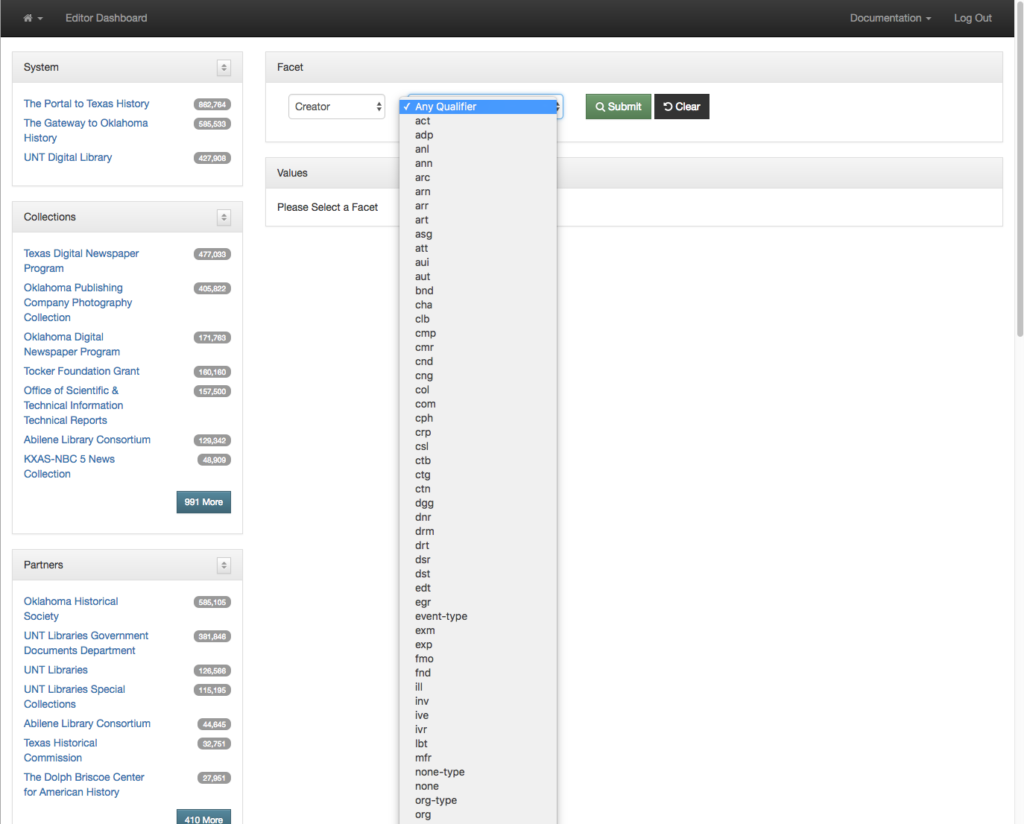
In addition to just seeing all of the values for the creator field you can also limit your view to a specific qualifier by selecting the qualifier dropdown when it is available.
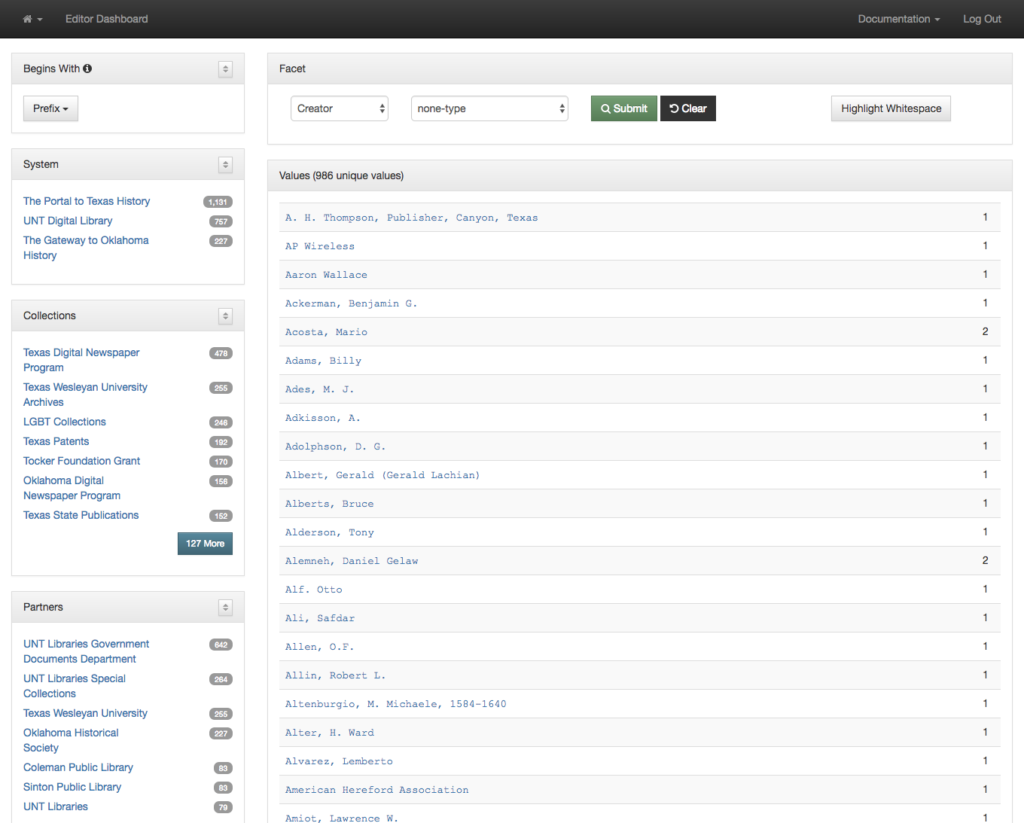
You can also look at items that don’t have a given value, for example Creator values that don’t have a name type designated. This is identified with a qualifier value of none-type.
You get just the 900+ values in the system that don’t have a name type designated.
All of this can be performed on any of the elements or any of the qualified elements of the metadata records.
While this is a useful first step in getting metadata editors directly to both the values of fields and their counts in the form of facets, it can be improved upon. This view still requires users to scan a long long list of items to try and identify values that should be collapsed because they are just different ways of expressing the same thing with differences in spacing or punctuation. It is only possible to identify these values if they are located near each other alphabetically. This can be a problem if you have a field like a name field that can have inverted or non-inverted strings for names. So there is room for improvement of these interfaces for our users.
Our next interface to talk about is our Count Dashboard. But that will be in another post.
If you have questions or comments about this post, please let me know via Twitter.
